Key Takeaways
- Most spring cleaning checklists miss hidden buildup like grease, residue, and worn plastics that affect your kitchen more than you think.
- A non-toxic kitchen starts with simple swaps like vinegar, baking soda, and reusable cleaning tools instead of harsh chemical cleaners.
- Spring cleaning is the perfect time to reduce plastic in your kitchen and create a cleaner, safer space for everyday cooking.
Spring cleaning your kitchen sounds simple… until you actually start. You wipe the counters, organize a drawer, maybe tackle the fridge, and somehow it still doesn’t feel fully clean.
That’s because most spring cleaning checklists focus on what you can see. But in a space where you cook and eat every day, what you don’t see matters just as much. Grease buildup, worn plastic containers, and even cleaning product residue can all linger in your kitchen.
And here’s something most people don’t think about. According to the Environmental Working Group, 53% of cleaning products they assessed contain ingredients known to harm the lungs.
So if you’re deep cleaning your kitchen but still using harsh products, you might be adding to the problem without realizing it. This guide is a little different. Instead of just helping your kitchen look clean, we’re focusing on how to make it feel cleaner, safer, and easier to maintain with simple, non-toxic methods and less plastic where it actually counts.
Why Spring Cleaning Your Kitchen Matters
Spring cleaning your kitchen isn’t just about making it look nice. It’s about what’s building up in a space you use every single day. Your kitchen is where you prep food, store leftovers, and gather with your family. But over time, it also becomes a place where grease, bacteria, and residue quietly collect in spots you don’t always notice.
Cooking releases oils into the air, which then settle on cabinets, walls, and other surfaces. Crumbs and moisture create the perfect environment for bacteria. And cleaning products can leave behind residue on the very surfaces where you prepare food.
Then there’s plastic. Containers, cutting boards, and storage items can wear down over time, especially with heat and repeated use. Small scratches and breakdowns aren’t always visible, but they can affect what your food comes into contact with.
This is why a deeper reset matters. Spring cleaning gives you a chance to not only clean your kitchen, but to rethink what’s in it. What you keep, what you use every day, and what might be better replaced with safer, longer-lasting options.
Don’t Miss – Microplastics: Health Risks, Sources, and How to Reduce Exposure From food containers to cutting boards, your kitchen can be a hidden source of microplastics. Learn where they come from and how to reduce exposure with simple, practical changes. Read more →How to Approach Spring Cleaning Your Kitchen
Spring cleaning your kitchen can feel overwhelming if you try to do everything at once. Instead of tackling the entire space in one go, it helps to break it down into simple, manageable steps so you can make steady progress without burning out.
🧩 Work in Sections, Not the Whole Kitchen
Start by thinking of your kitchen in sections rather than as one big project. You might focus on appliances one day, cabinets another day, and surfaces after that. Even setting aside 20 to 30 minutes at a time can make a noticeable difference without turning it into an all-day task.
🧴 Keep Your Supplies Simple
Before you start cleaning, gather the basic supplies you’ll need so you don’t have to stop halfway through. You don’t need a cabinet full of products. A few effective, non-toxic options like baking soda, vinegar, and a gentle dish soap can handle most of what you’ll encounter.
🧹 Clean First, Then Organize
As you work through each area, focus on cleaning first, then organizing. It’s much easier to decide what to keep when everything is clean and visible. This also gives you a chance to notice what you actually use and what has just been taking up space.
⬇️ Always Work Top to Bottom
Try to follow a top-to-bottom approach as you move through your kitchen. Cleaning higher surfaces first, like shelves and cabinets, prevents dust and debris from falling onto areas you’ve already cleaned. This simple shift can save you time and frustration.
🧱 Start Small if You Feel Stuck
If it starts to feel overwhelming, come back to one small area. A single drawer or shelf is enough to build momentum and keep you moving forward.
The goal here isn’t perfection. It’s creating a kitchen that feels easier to use, easier to maintain, and better suited for how you actually live.
Plastic-Free + Non-Toxic Cleaning Supplies That Actually Work
You don’t need a cabinet full of products to deep clean your kitchen. In fact, most of what you need is probably already in your home.
Many conventional cleaners rely on strong fragrances and harsh ingredients, but simple, non-toxic options can clean just as effectively without leaving behind unnecessary residue. Keeping your supplies minimal also makes it easier to stay consistent with your cleaning routine.
The Basics You Really Need
A few simple staples can handle almost every part of your kitchen:
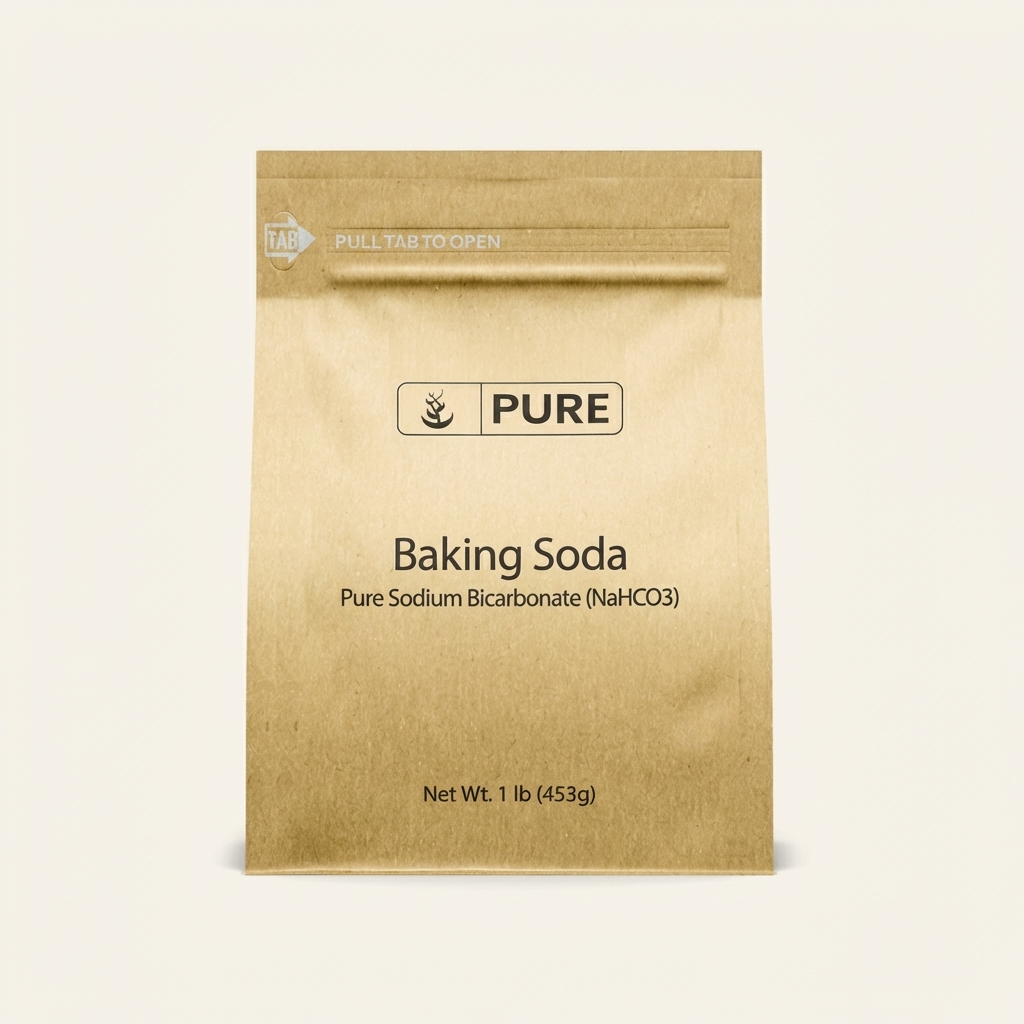
- Baking soda for scrubbing and lifting buildup
- White vinegar for cutting grease and odors
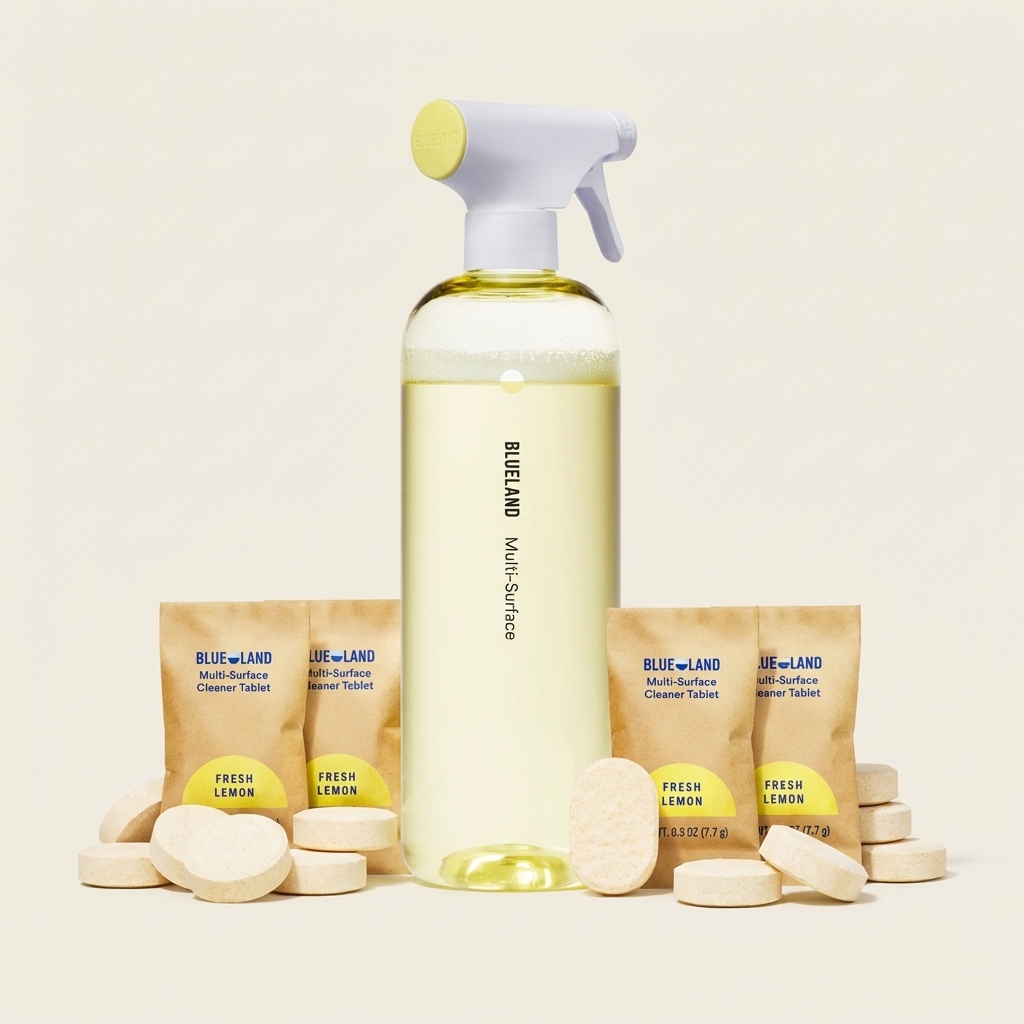
- A gentle dish soap for everyday cleaning or multi-surface cleaner
- Warm water for rinsing surfaces clean
These work well on everything from countertops to appliances, and they’re easy to mix and use without overcomplicating the process.
Reusable Tools Over Disposable
Instead of reaching for paper towels or single-use wipes, switch to reusable tools that hold up over time.
- Microfiber cloths or cotton rags
- Wooden or bamboo scrub brushes
- Refillable spray bottles
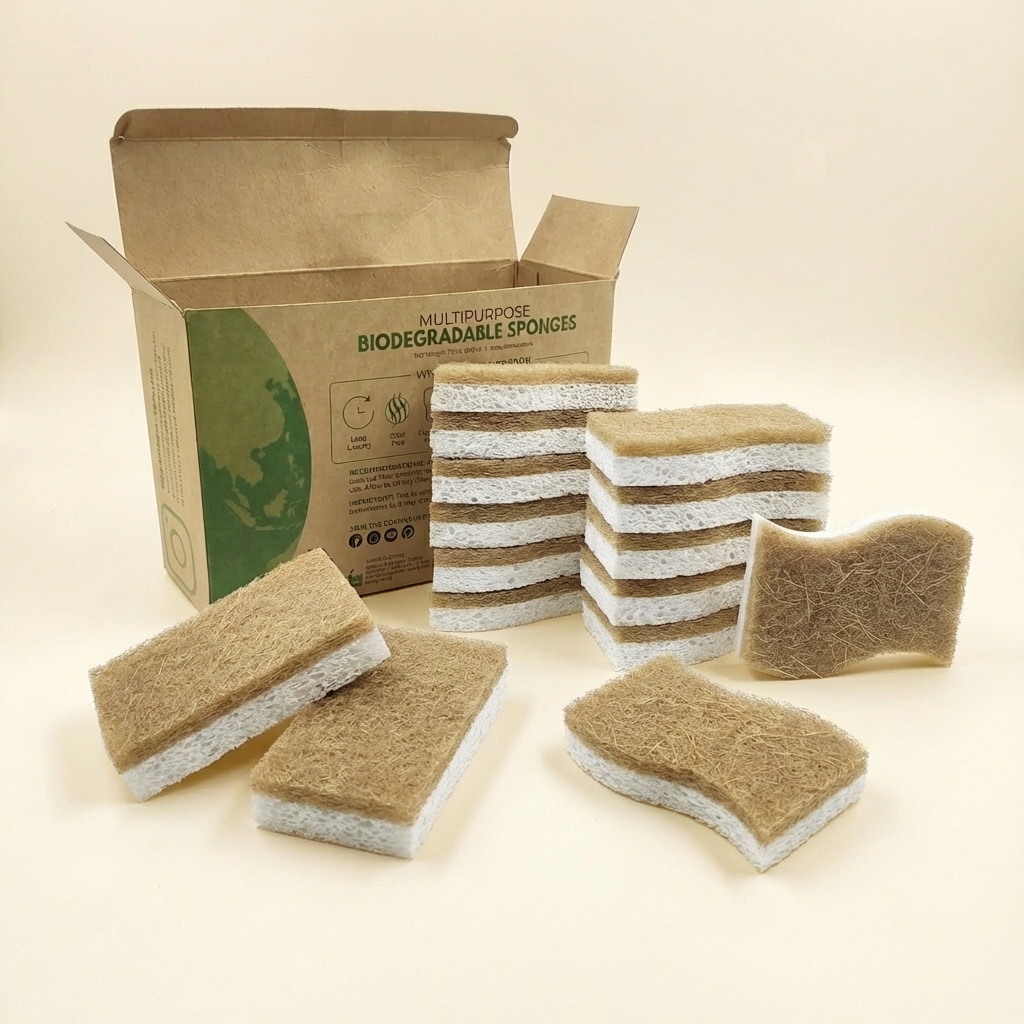
- Plant based sponges
Not only do these reduce waste, but they also tend to clean better and last longer, which means fewer replacements over time.
Rethink Plastic Where You Can
Spring cleaning is a good time to take a closer look at the tools and products you’re using every day.
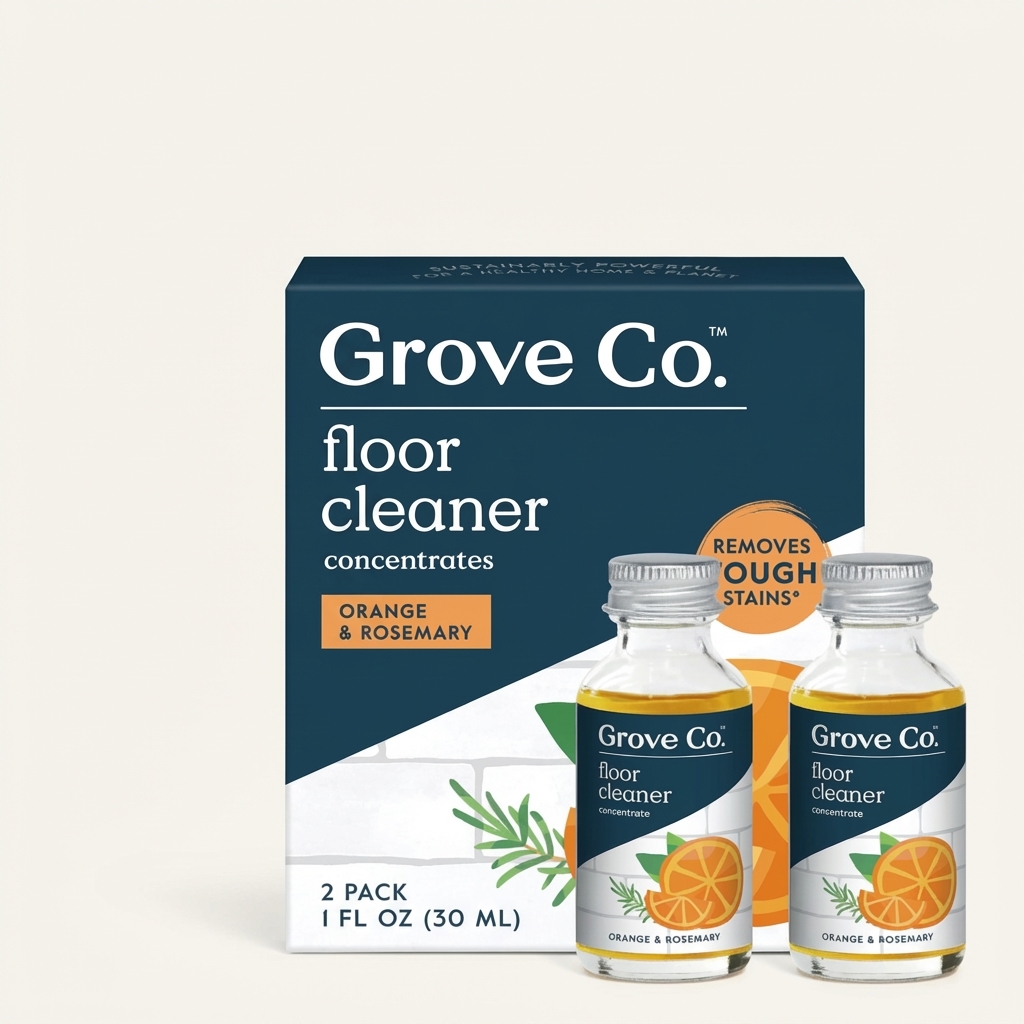
If your cleaning supplies are mostly plastic, consider swapping them out gradually rather than all at once. Look for options like glass spray bottles, refillable concentrates, or packaging that can be reused.
The goal isn’t to replace everything overnight. It’s to slowly shift toward options that feel better to use and hold up over time.
✨ Tip
Keep It Simple
You don’t need a different cleaner for every surface. A simple mix like vinegar and water works well for most everyday cleaning, while baking soda can handle tougher spots. Sticking to just a few go-to options makes your routine easier to follow and keeps clutter from building up under your sink.
Recommended Products
Here are some of the products I personally use and recommend.
The Kitchen Deep Cleaning Checklist
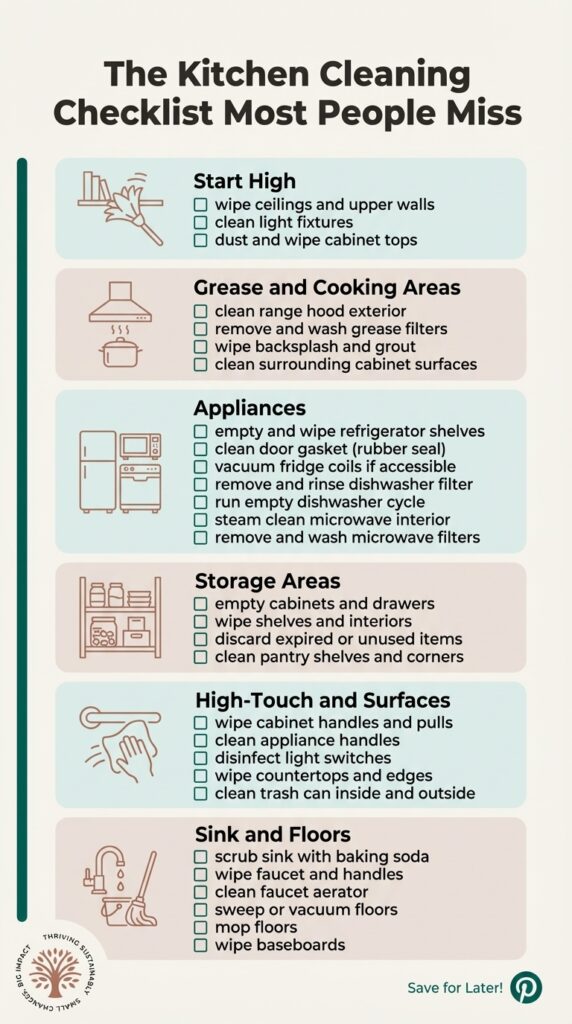
This checklist follows a top-to-bottom approach, so you’re not re-cleaning the same areas twice. It also includes the spots most people miss, but that can affect how your kitchen functions and feels day to day.
Start High: Ceilings, Lights, and Cabinet Tops
These areas collect more than just dust. Cooking oils rise and settle here, creating a thin film over time.
- Wipe upper walls, ceiling edges, and light fixtures with a damp cloth
- Dust and clean the tops of cabinets
- Pay extra attention to areas above the stove where grease tends to build
Starting here prevents debris from falling onto surfaces you’ve already cleaned.
Range Hood or Over-the-Stove Microwave
This is one of the most overlooked areas in the kitchen.
If you have a range hood or a microwave above your stove, there are usually metal grease filters underneath. These are designed to catch airborne grease and need to be removed and cleaned regularly.
Some setups also include a charcoal filter, especially if the unit recirculates air rather than venting it outside. These are not washable and need to be replaced periodically.
- Remove and wash metal grease filters with warm, soapy water
- Check for a charcoal filter and replace if needed
- Wipe the underside of the hood or microwave
- Clean the vent cover and nearby cabinet surfaces
If these aren’t cleaned, grease buildup can affect airflow and leave lingering odors.
Backsplash and Stove Surround
Grease doesn’t just land where you see splatter. It spreads in a thin layer across nearby surfaces.
- Wipe backsplash tiles and grout lines
- Clean the wall and cabinet sides near the stove
- Go over the area more than once if it still feels slightly sticky
This is one of the biggest “why does my kitchen still feel dirty” areas.
Refrigerator
Cleaning the inside is important, but there are a few key spots that are easy to miss.
- Remove all items and wipe shelves and drawers
- Clean the door gasket (rubber seal) with warm, soapy water and dry it well
- Check for crumbs or buildup under drawers
- If accessible, vacuum the condenser coils behind or beneath the fridge to improve efficiency
A clean seal helps your fridge maintain temperature and prevents moisture issues.
Dishwasher (Not Just Running a Cycle)
Running a cycle alone doesn’t fully clean your dishwasher.
- Remove and rinse the filter at the bottom of the machine
- Wipe around the door edges and seal
- Run an empty cycle with vinegar to help break down buildup
A clogged filter can lead to odors and less effective cleaning.
Microwave
Microwaves are often cleaned quickly, but not thoroughly.
- Heat a bowl of water (add lemon if you want) to loosen residue
- Wipe the interior, including the ceiling of the microwave
- Remove and wash the turntable
- If mounted above the stove, clean the grease filters underneath
Cabinets, Drawers, and Pantry
This is where cleaning naturally turns into a reset.
- Empty one section at a time
- Wipe shelves and interiors
- Remove expired or unused items
- Pay attention to corners where crumbs collect
Taking it one section at a time keeps this manageable.
High-Touch Areas You Might Miss
These are some of the dirtiest spots because they’re touched constantly.
- Cabinet handles and drawer pulls
- Appliance handles
- Light switches
A quick wipe-down here makes a noticeable difference.
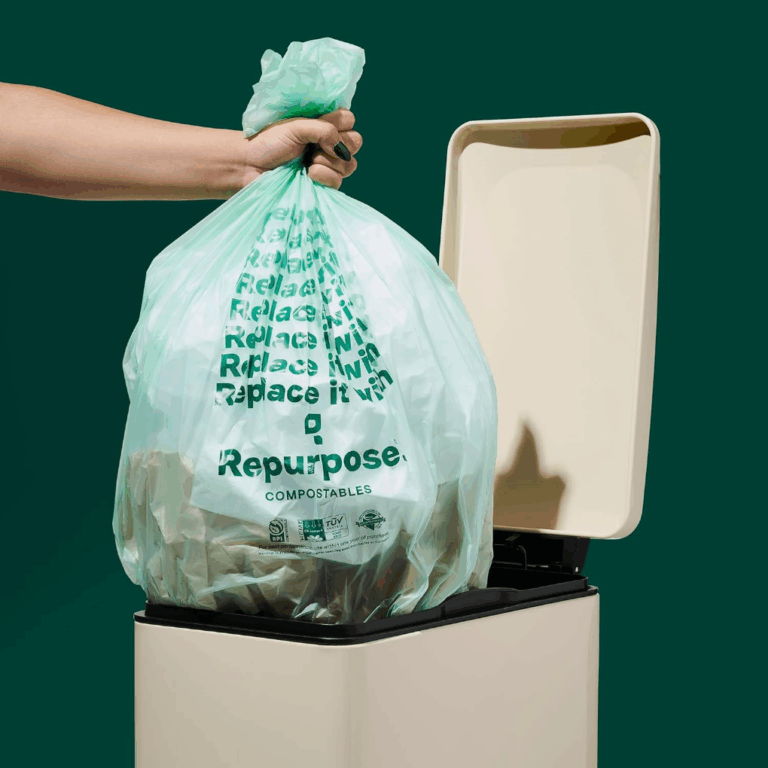
Trash Can
Even if you take the trash out regularly, the bin itself can hold odors and bacteria.
- Empty completely
- Wash with vinegar and water
- Let it dry fully before adding a new liner
Countertops
These surfaces come into direct contact with your food.
- Wipe down thoroughly with a non-toxic cleaner
- Rinse with clean water if needed to remove residue
- Pay attention to seams, edges, and corners
Sink, Faucet, and Aerator
The sink gets constant use and can build up quickly.
- Scrub the sink with baking soda
- Rinse with vinegar or warm water
- Wipe the faucet and handles
- Unscrew and rinse the aerator on the faucet if there is buildup
The aerator is often missed and can collect debris over time.
Floors and Baseboards
Everything eventually settles here, especially near the stove and trash area.
- Sweep or vacuum first
- Mop with a simple cleaning solution
- Wipe baseboards, especially in high-traffic areas
Organizational Tips (Without Buying More Stuff)

Once everything is clean, it’s much easier to see what you actually use and what’s just taking up space. This is where your kitchen starts to feel lighter and easier to use.
The goal isn’t to create a perfectly styled pantry. It’s to make your kitchen more functional using what you already have.
1. Start With What You Use Most
Instead of trying to organize everything at once, focus on the areas you reach for every day.
- Group items by how you use them, not just by category
- Keep frequently used items within easy reach
- Move rarely used items higher up or further back
2. Edit Before You Organize
Removing what you don’t need first makes everything else easier.
- Toss expired food and spices
- Remove duplicates or items you don’t use
- Set aside anything broken or worn
3. Use What You Already Have First
Before buying anything new, look for ways to reuse what you already own.
- Glass jars for pantry items
- Small baskets or bins you already have
- Containers that are still in good condition
4. Be Intentional With Plastic
You don’t need to replace everything at once, but this is a good time to notice what you’re using.
- Set aside heavily scratched or worn plastic containers
- Avoid reheating food in plastic when possible
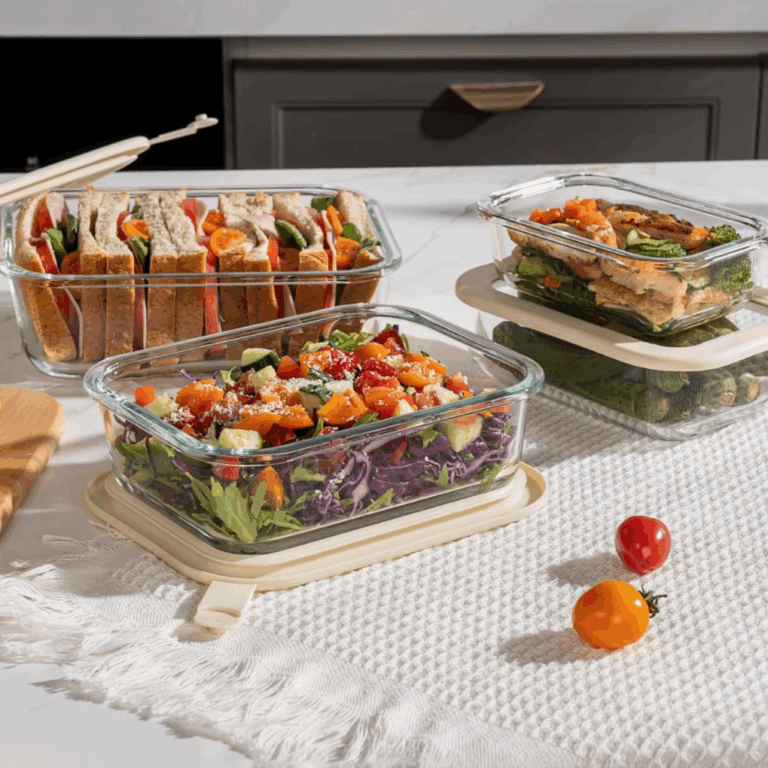
- Slowly replace items with longer-lasting options like glass or stainless steel
Small changes here can make a difference over time without feeling overwhelming.
Easy Habits That Keep Your Kitchen Clean Longer
A deep clean feels great, but what really makes a difference is what you do after. A few small habits can keep your kitchen from getting to that overwhelming point again.
This isn’t about doing more. It’s about making everyday upkeep feel easier.
| Habit | What to Do | Why It Helps |
|---|---|---|
| Daily Reset | Wipe counters, put items away, quick sweep if needed | Prevents mess from building up and keeps your kitchen manageable |
| Clean As You Go | Rinse dishes, wipe spills, put ingredients away while cooking | Reduces cleanup time and avoids overwhelming messes |
| High-Use Areas | Regularly wipe sink, faucet, stove, and countertops | Maintains a clean feel in the most used parts of your kitchen |
| Easy Access Supplies | Keep basic cleaning tools within reach | Makes it easier to stay consistent with cleaning habits |
| Weekly Check | Toss expired food, wipe fridge, reset one small area | Prevents the need for another large deep clean |
FAQs on Kitchen Spring Cleaning Checklists
They are effective separately, but not when mixed together. Combining them causes a reaction that cancels out their cleaning power. It’s better to use them one at a time, depending on the task.
Odors often come from hidden areas like the trash can, sink drain, dishwasher filter, or grease buildup on surfaces. Cleaning these overlooked spots usually makes the biggest difference.
It’s better to use separate cloths or rinse thoroughly between areas, especially when moving from high-germ areas like the sink to food prep surfaces. This helps prevent the spread of bacteria.
Final Thoughts on Spring Cleaning Checklists
A deep clean can make your kitchen feel completely different, but it doesn’t have to be something you dread or put off for months. When you focus on the areas that actually matter and keep your routine simple, your kitchen becomes easier to manage day to day.
You don’t need a long list of products or a perfect system. Just a few thoughtful changes and habits can make a noticeable difference. Over time, those small shifts add up. Less buildup, less clutter, and less time spent trying to reset everything all at once.