Key Takeaways
- A DIY worm composting bin (vermicomposting) turns food scraps into nutrient-rich compost for your garden.
- Worm castings and worm tea naturally improve soil health, drainage, and moisture retention without chemicals.
- Using non-plastic tools helps prevent microplastic contamination and keeps your composting system eco-friendly.
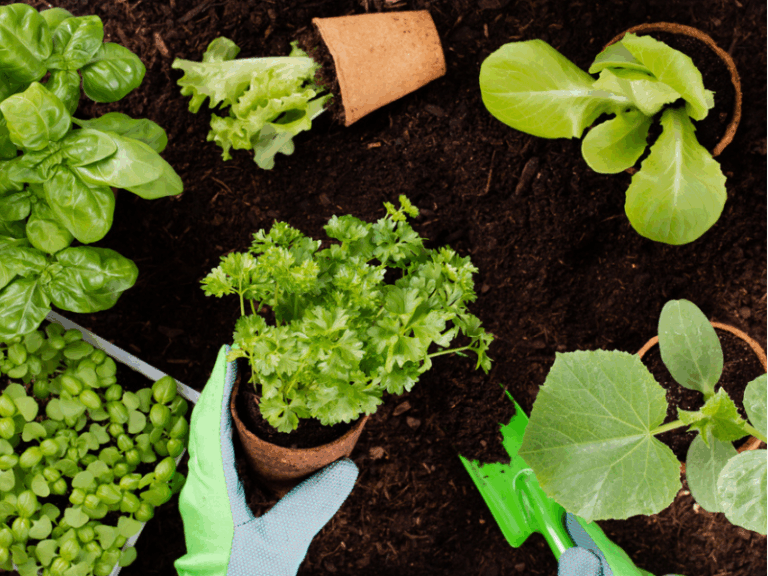
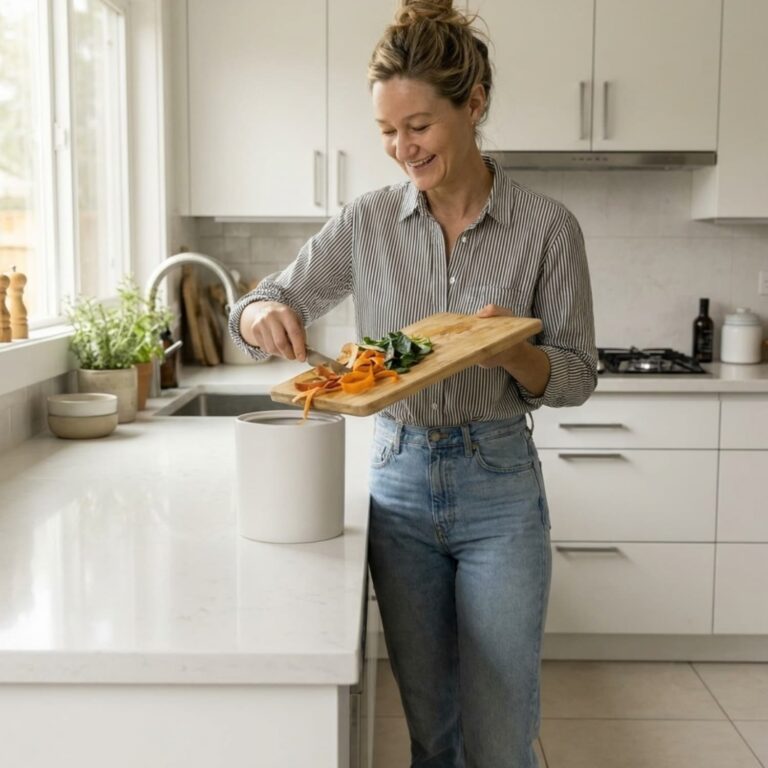
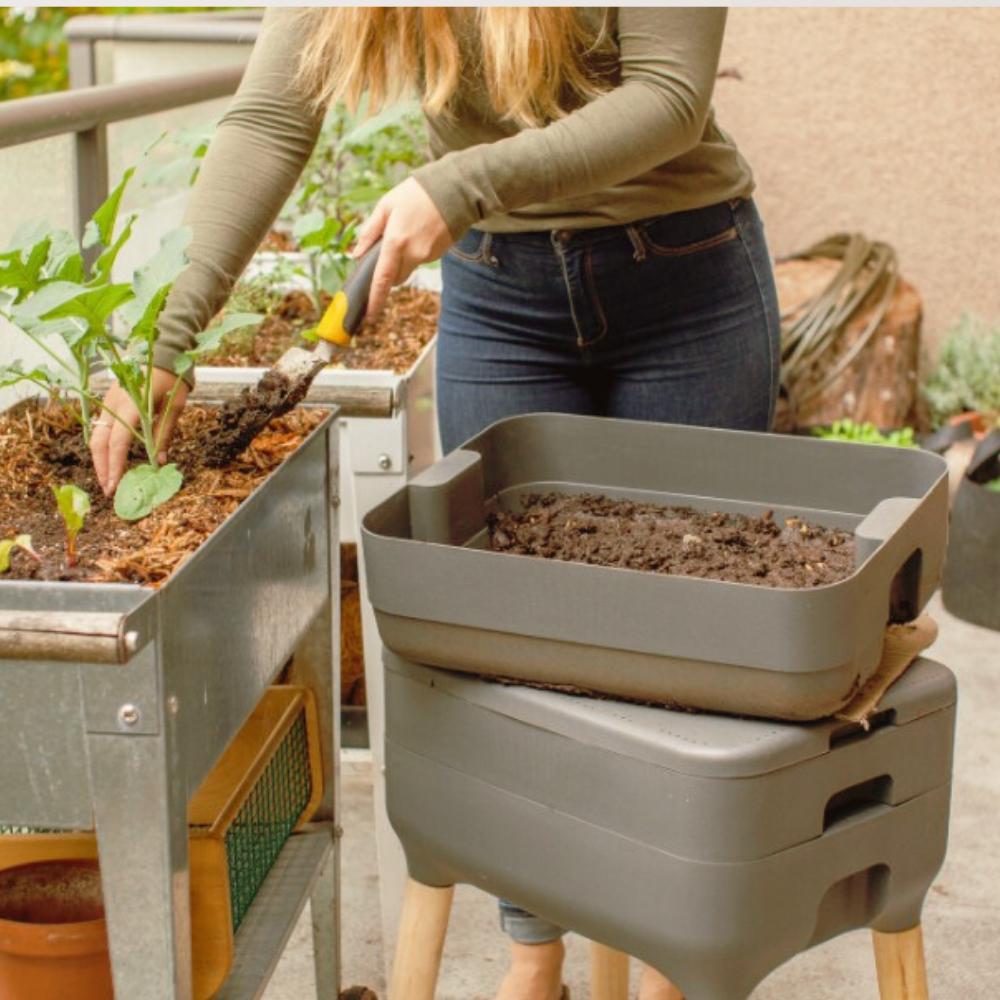
What if your kitchen scraps could do more than fill up the trash? Those banana peels and coffee grounds can actually be turned into something useful with a simple worm composting bin you can make at home. Instead of heading to the landfill, your food scraps can become rich compost that feeds your garden.
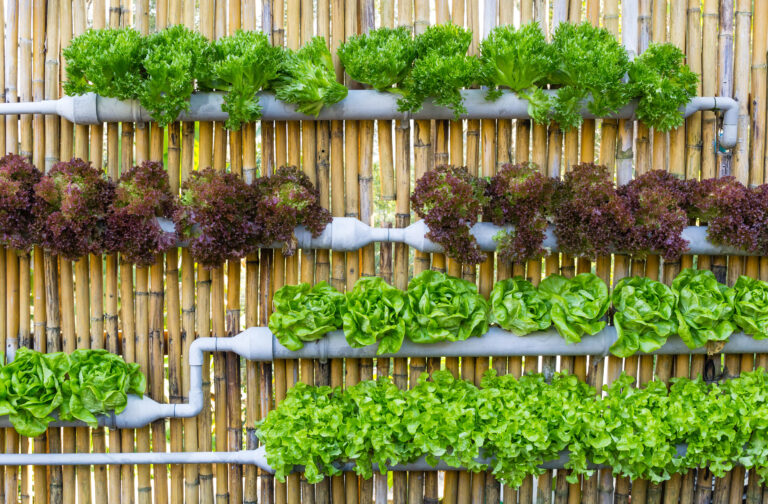
Sustainable gardening isn’t just about skipping chemicals or saving water. It’s also about giving back to the soil. That’s where vermicomposting, or composting with worms, comes in. It’s easy to start, doesn’t take much work, and your plants will love the results.
Here’s something to think about: nearly a quarter of what goes into U.S. landfills is food scraps. Most of that could be composted. By starting a worm bin, you can transform waste into healthy soil while also helping the environment.
In this guide, I’ll show you what worm composting is, how to set up your own DIY worm bin, and why it’s such a wise choice for eco-friendly gardening.
What is Worm Composting?
Worm composting, also known as vermicomposting, is a natural method for recycling kitchen scraps, such as fruit peels and coffee grounds. With the help of worms, food waste breaks down into a rich compost that improves soil health and feeds your plants.
Here’s How It Works
Think of a worm bin as a tiny ecosystem. The worms eat food scraps, digest them, and leave behind worm castings (also known as worm poop), which are packed with nutrients that plants love: no chemicals, no additives—just nature doing its job.
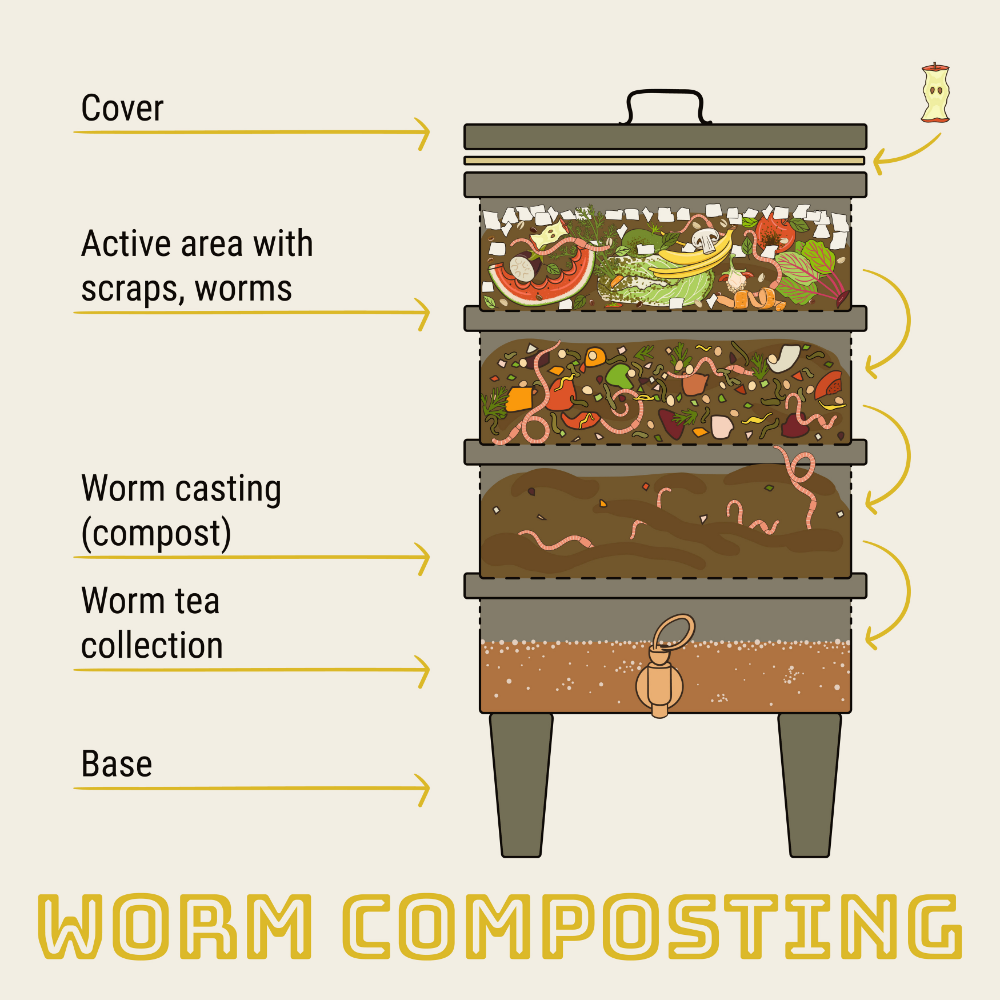
Inside a worm composting bin, here’s what happens:
- Active Area: This is where you add food scraps, such as fruit peels, vegetable trimmings, and coffee grounds. The worms start munching right away.
- Worms at Work: As they move through the bedding, the worms break food down and create castings. Their movement also keeps the bin aerated and helps maintain moisture balance.
- Worm Castings: Over time, scraps are transformed into dark, crumbly compost that enhances soil structure and fertility.
- Worm Tea: As extra moisture drains out of the bin, it becomes “worm tea,” a liquid fertilizer that you can collect and use to give your plants a nutrient boost.
The whole process is entirely organic. You reduce waste, build healthier soil, and give your garden an all-natural fertilizer, all with a bit of help from your worms.
When you set up a worm bin, you’re not just making compost. You’re helping your garden, your wallet, and the planet. Here’s why vermicomposting is worth it.
Benefits of Worm Composting for Your Garden
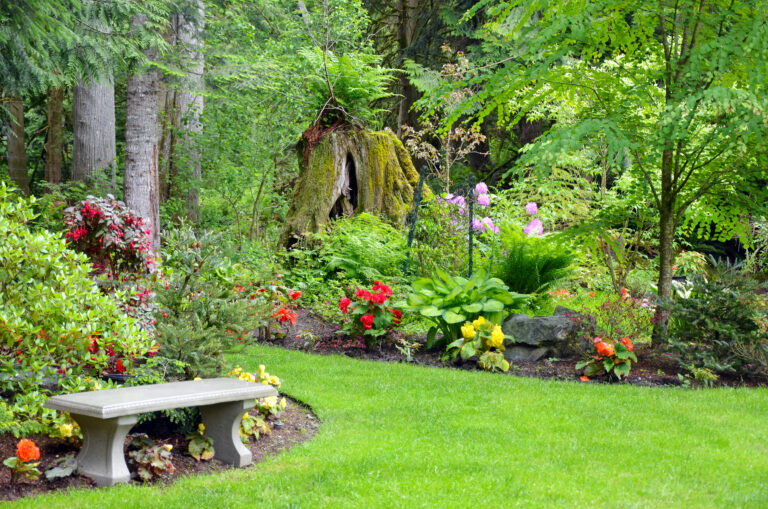
When it comes to gardening, soil is the foundation of everything. It’s where your plants get their nutrients, stability, and support. Healthy soil is a gardener’s best friend, and that’s where worm composting shines.
🌎 Environmental Benefits
Each apple core or coffee filter you drop into a worm bin is one less piece of trash headed to the landfill. In landfills, food waste breaks down without air and releases methane, a powerful greenhouse gas. Worm composting keeps those scraps in the natural cycle and turns them into something helpful instead of harmful.
🌱 Soil and Plant Health
Gardeners call worm castings “black gold” for a reason. They’re packed with nutrients like nitrogen, phosphorus, and potassium. Castings also improve the texture of soil, so it drains better yet still holds on to enough water. That balance helps roots spread, soak up nutrients, and grow into strong, healthy plants.
💰 Cost Savings and Everyday Perks
A worm bin gives you free fertilizer right at home. Your worms produce compost and worm tea you can use again and again, which saves money on store-bought products. Worm bins are also small, low-odor, and easy to manage indoors or outdoors, so you can compost year-round without needing a big backyard.
Before You Begin: Planning & Preparation
A little planning goes a long way when it comes to worm composting. Choosing the correct type of bin and setup from the start helps you avoid common mistakes, keeps your worms healthy, and makes composting easier to manage.
📝 Planning & Preparation Checklist
- Choose your bin type: Plastic (easy, cheap), wooden (natural, more upkeep), DIY, or a purchased kit.
- Pick a good location: Indoors for stable temps and convenience, outdoors only if conditions stay between 55–77°F (13–25°C).
- Check your space: A 10–18 gallon bin fits most households without taking up too much room.
- Gather your materials: Drill for holes, shredded paper or cardboard for bedding, coconut coir or leaves, and a tray to catch worm tea.
- Get the right worms: Red wigglers (Eisenia fetida) work best—don’t use garden earthworms.
How to Start a Worm Composting Bin DIY
Step 1: Choosing the Right Bin and Location
Before you start worm composting, it’s essential to choose the right container and location to keep your worms happy and productive.
Choosing Your Bin
Worms aren’t too picky, but your bin choice can significantly impact the ease of use and success of composting. Here’s what to look for:
- Size: A 10–18-gallon container is usually ideal for most households. Too small and it’ll fill up quickly; too large and it might be hard to manage moisture.
- Material: Plastic storage bins are familiar and easy to find, but make sure they’re food-grade to avoid harmful chemicals. Wooden bins can also be used, but they may require more maintenance.
- Color: Opt for opaque bins—worms prefer dark environments and are more active in low light.
- Ventilation and Drainage: Drill ventilation holes on the sides and drainage holes at the bottom to prevent excess moisture buildup and improve airflow.
- Lid: Use a solid lid to keep pests out and moisture in. Just ensure the bin still allows sufficient airflow through its sides.
Want a smaller or more compact setup? Food-grade buckets with proper ventilation and drainage also make great mini worm bins.
| Bin Type | Pros | Cons |
|---|---|---|
| Plastic Bins | Cheap, easy to find, lightweight, good for beginners | Can leach microplastics into soil over time, less durable |
| Wooden Bins | Natural, breathable, blends into garden space | Requires more maintenance, can rot or attract pests if not cared for |
| Purchased Kits | Convenient, designed for composting, may include stackable trays | Higher cost, less customizable |
| DIY Options | Budget-friendly, customizable, repurposes materials you already have | Takes some time and effort to set up properly |
Indoor vs. Outdoor Setup
Where you place your worm bin matters just as much as the bin itself. The right spot keeps your worms comfortable, makes feeding easier, and helps you avoid common problems like overheating, freezing, or attracting pests. Whether you keep your bin inside or outside depends on your space, climate, and lifestyle.
| Feature | Indoor Bin | Outdoor Bin |
|---|---|---|
| Temperature Control | Stable year-round if kept in a kitchen, basement, or garage. | Depends on the weather, may need moving indoors during hot summers or cold winters. |
| Ease of Feeding | Very convenient—scraps go straight from the kitchen to the bin. | Less convenient, especially in bad weather. |
| Odor & Pest Control | Low odor if managed well; fruit flies can be prevented with bedding cover. | More likely to attract pests if not secured with a tight lid and proper bedding. |
| Space Needed | Compact, fits in apartments, garages, or laundry rooms. | Can be larger, better for households with bigger volumes of food scraps. |
| Best For | Small households, urban gardeners, year-round composting. | Families with more space, seasonal composting, larger gardens. |
Step 2: Step-by-Step Building Instructions
Now that you’ve chosen your worm bin and found the perfect spot, it’s time to build your setup. Don’t worry—it’s simple and requires just a few tools and materials you likely already have at home.
Prep the Container
Start with a clean container (plastic storage bin or food-grade bucket works well). If you’re using a plastic bin, you’ll want to customize it a bit to make it worm-friendly.
- Ventilation Holes: Use a drill bit (⅛” or ¼” works great) to make air holes along the side walls of the bin. This allows for airflow, which helps prevent foul odors and keeps your compost aerobic (oxygen-rich).
- Drainage Holes: Drill several small holes in the bottom of the bin to prevent excess moisture from building up. This also allows compost tea (the liquid byproduct) to drain out, which you can collect and use as natural fertilizer.
- Bin Lid: Make a few holes in the lid, or leave a small gap for airflow, if the bin is kept indoors in a well-ventilated space.
Optional: Place a shallow tray or second bin underneath to catch any moisture that drains through the bottom.
Step 3: Setting Up Bedding and Adding Worms
Once your bin is assembled, it’s time to create a welcoming environment inside—starting with the bedding. This is where your worms will eat, rest, and work their magic in the composting process.
Build the Bedding Layer
Worms need soft, breathable bedding that holds just enough moisture to keep them comfortable. A well-prepped bedding layer mimics the natural forest floor and helps balance the bin.
Use a combination of these materials:
- Shredded newspaper (avoid colored or glossy ink)
- Shredded cardboard
- Brown paper bags (torn into strips)
- Coconut coir fiber
- Brown leaves
- Dry grass clippings
- Straw
Add a scoop of living material, such as aged compost or soil, to introduce beneficial microbes and jump-start the composting process.
- Fill your bin about one-third to halfway with this bedding material.
- Mist lightly with water until the texture feels like a wrung-out sponge—damp compost, not soggy.
- Fluff the mix to allow airflow and prevent compacting.
For extra moisture control, cover the bedding with a damp sheet of newspaper or cardboard. It helps maintain humidity and discourages fruit flies.
Add Your Worms
Once the bedding is ready:
- Place your red wigglers (Eisenia fetida) on top of the bedding.
- They’ll naturally wriggle downward away from light and start getting to work.
- Wait 24–48 hours before feeding them, giving them time to settle in without stress.
✨tips
Thriving Worm Bins
- Worms are happiest between 55°F and 77°F (13°C and 25°C). Move your bin indoors if it gets too hot or too cold outside.
- Keep bedding as damp as a wrung-out sponge — too wet or too dry will stress your worms.
- Always bury food scraps under the bedding to cut down on fruit flies and odors.
- Start small with feedings until you see how quickly your worms can handle the food waste.
Step 4: Maintain Your Bin
Keeping your worm bin in balance is simple with a few key steps:
- Moisture: Check weekly—if it’s too dry, add water; if it’s too wet, add more bedding.
- Temperature: Keep the bin between 55°F and 77°F (13 °C and 25°C) in a shaded or cool spot.
- Feeding: Add more food as the worms consume scraps, always burying them under the bedding.
- Harvesting: In 3-6 months, your worms will turn bedding and food into dark, rich compost. To harvest, push everything to one side and scoop out the finished compost from the other.
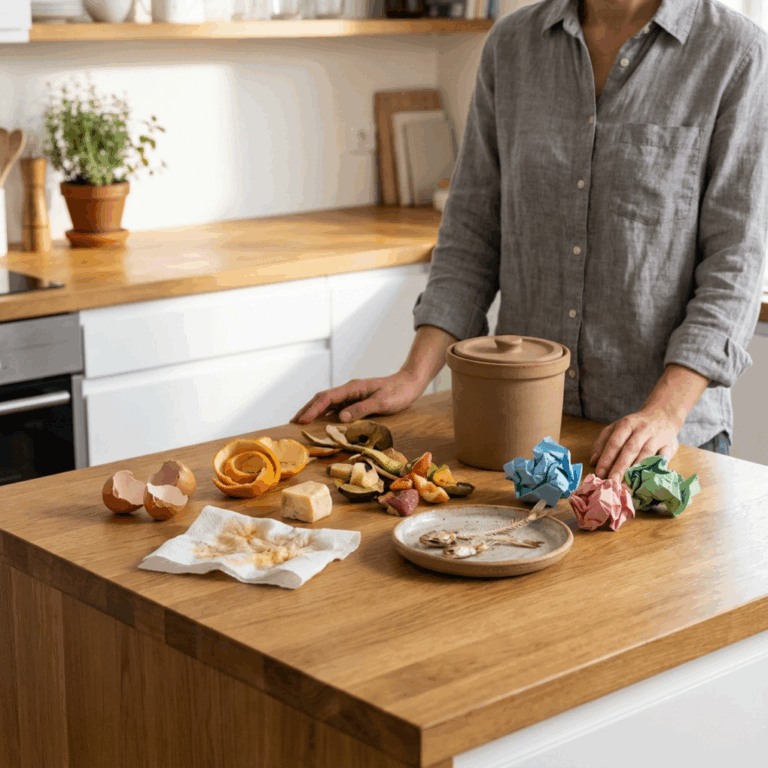
Bury Food Scraps
Start slow by adding a handful of soft fruit peels, veggie scraps, or coffee grounds. Bury the food under the bedding to discourage flies and odors. Skip citrus, meat, and dairy they’re too acidic or greasy for your worms.
Over time, you’ll get a feel for how much your worms can handle and how often to feed them.
Don’t Miss: Composting 101 New to composting? This beginner’s guide covers all the basics, from getting started to avoiding common mistakes. Read more →🪱 Step-by-Step Video Guide
🎥 Video Credit: Worm Composting: How to Make a Wormery “STEP BY STEP”! by GrowVeg on YouTube
Tips for Success & Troubleshooting
Even with the best setup, worm bins sometimes need a little fine-tuning. Here are some quick tips to keep your composting system running smoothly.
Common Issues and Easy Fixes
- Too Wet: Bedding should feel like a damp sponge, not a swamp. If it’s soggy, add more dry bedding, such as shredded cardboard or newspaper, to absorb the moisture.
- Too Dry: Mist lightly with water and cover with a damp sheet of newspaper to hold in moisture.
- Bad Smells: This usually means overfeeding. Remove any rotten food and reduce the amount you add. Always bury scraps under the bedding.
- Fruit Flies or Pests: Keep food covered with bedding and avoid adding too much fruit at once. A layer of damp newspaper on top helps.
- Escaping Worms: Worms sometimes crawl out if the bin is too wet, too dry, or lacks food. Adjust the moisture level and ensure that fresh scraps are available.
Seasonal Care
- Hot Weather: Keep bins in the shade and make sure they don’t dry out.
- Cold Weather: Move outdoor bins into a garage, basement, or other sheltered spot when temperatures drop below 55°F (13°C).
- Indoor Bins: Maintain a steady room temperature and avoid direct sunlight or heaters.
Scaling Up Your System
As your worms multiply, you might notice your bin filling faster. If you want more compost, you can:
- Add a second bin to expand your setup.
- Move part of your worm population into a new container.
- Consider using a stacking bin system to simplify the harvesting process.
With a bit of attention, your worms will remain happy and productive, providing you with a steady supply of rich compost.
Go Plastic-Free with Composting Tools
The tools you use can make a significant difference in the health of your worm bin. Even when they’re made from recycled plastic, scoops, containers, or liners can eventually break down into tiny microplastics. Those particles end up in your soil, in your compost, and even in your worms.
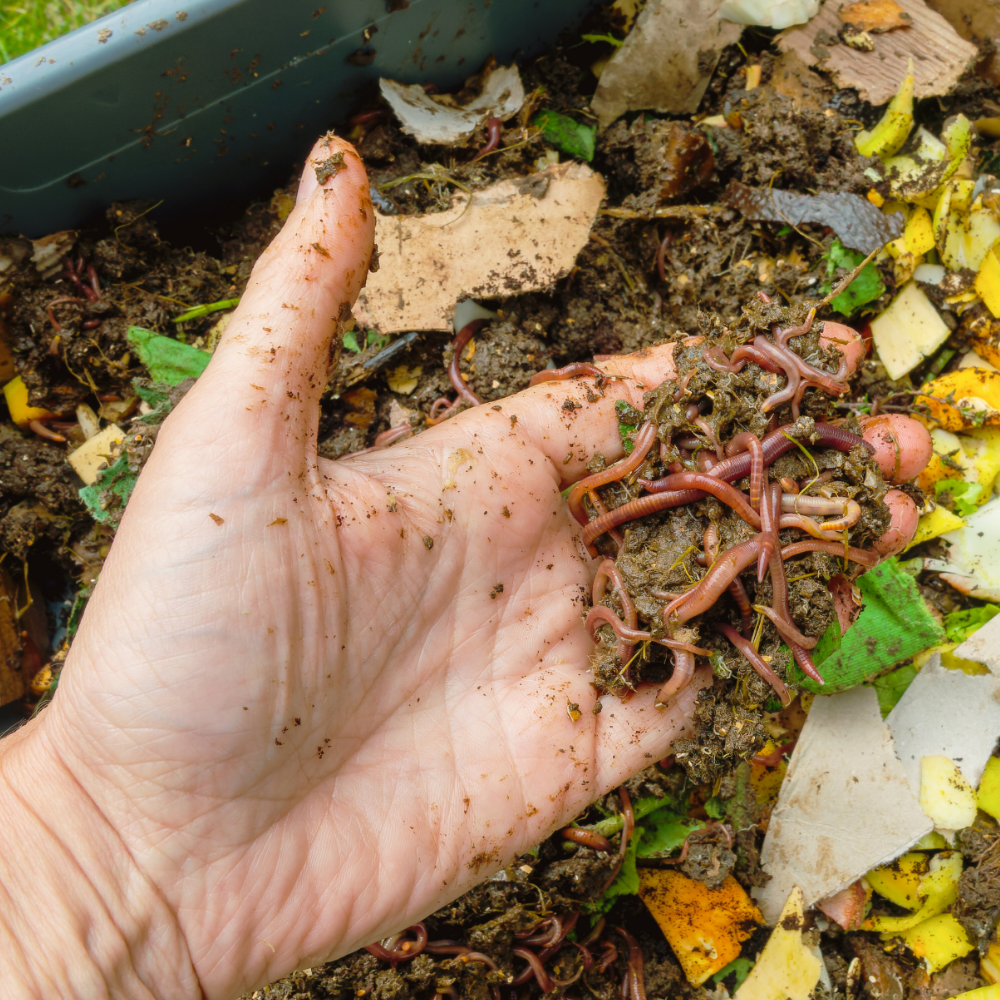
Earthworms are the heart of vermicomposting. They turn scraps into rich castings that feed your garden. However, if they ingest microplastics, it can harm their digestion and compromise the entire composting process.
A simple solution is to opt for natural, durable materials like wood, bamboo, or metal. These materials won’t break down into microplastics; they last longer, and they keep your worm bin and your soil healthier.
Don’t Miss: Microplastics in Soil Tiny plastic particles can impact soil health and even harm the organisms that live in it. Discover how microplastics enter the soil and learn about steps you can take to reduce your exposure. Read more →FAQs on Worm Composting Bin
No, worms can’t bite. They don’t have teeth. Instead, they grind up food using a muscular part of their digestive system. This means you can handle them safely without worry.
If worms are trying to escape, it usually means something in the bin isn’t right. The bedding may be too wet or too dry, there might not be enough airflow, or the bin could be too acidic if you’ve added citrus or onions. Fixing the balance of moisture, food, and bedding usually brings them back down quickly.
Yes. Red wigglers reproduce right in the bin by laying small lemon-shaped cocoons. Each cocoon can contain several baby worms. With optimal conditions, including moisture, food, and a steady temperature, your worm population will grow naturally, which also helps keep your composting system productive.
Yes, both are important. Drainage holes or a tray prevent the bin from becoming waterlogged. At the same time, bedding materials such as shredded newspaper, cardboard, or leaves absorb excess moisture, providing worms with a soft, breathable environment. A healthy layer of bedding makes the whole system easier to maintain.
Final Thoughts About Worm Composting Bin
Worm composting is one of the easiest and most rewarding ways to reduce waste while enriching your garden. With just a few simple steps, you can create a thriving little ecosystem at home that turns kitchen scraps into compost your plants will love. At the same time, you’ll reduce landfill waste and lower your plastic footprint.
The key is patience and balance—give your worms the right conditions, and they’ll handle the rest. Grab your non-plastic tools, set up your bin, and watch as food scraps transform into garden gold. Happy composting!
Don’t Miss: Plastic-Free Living 👉 Ready to reduce plastic in other areas of your life? Learn why it is so important. Read more →📚References
- Environmental Protection Agency. (2023). Food: Material-Specific Data. United States Environmental Protection Agency. https://www.epa.gov/facts-and-figures-about-materials-waste-and-recycling/food-material-specific-data
- Iowa State University Extension and Outreach. (n.d.). Vermicomposting: Frequently Asked Questions. Iowa State University Extension and Outreach. https://yardandgarden.extension.iastate.edu/how-to/vermicomposting-frequently-asked-questions
- University of Illinois Extension. (n.d.). Vermicomposting: Questions and Answers. University of Illinois Extension. https://extension.illinois.edu/composting/vermicomposting-questions-and-answers