Are you tired of tossing your food scraps into the trash only to watch them accumulate in landfills? You’re not alone. Many people are looking for ways to reduce and turn waste into something useful.
Did you know that worms can transform kitchen leftovers into rich soil enhancers? This process is called worm composting, and it’s an easy way to recycle what you might otherwise throw away.
This blog post will give step-by-step instructions for creating your worm composting bin. Whether you live in a house with a yard or an apartment with limited space, we’ll guide you through choosing the correct bin, setting it up, and maintaining it.
By the end of this article, you’ll be ready to start turning your fruit peels and coffee grounds into nutrient-rich worm castings for your plants. Keep reading – your garden will thank you!
What is Vermicomposting?
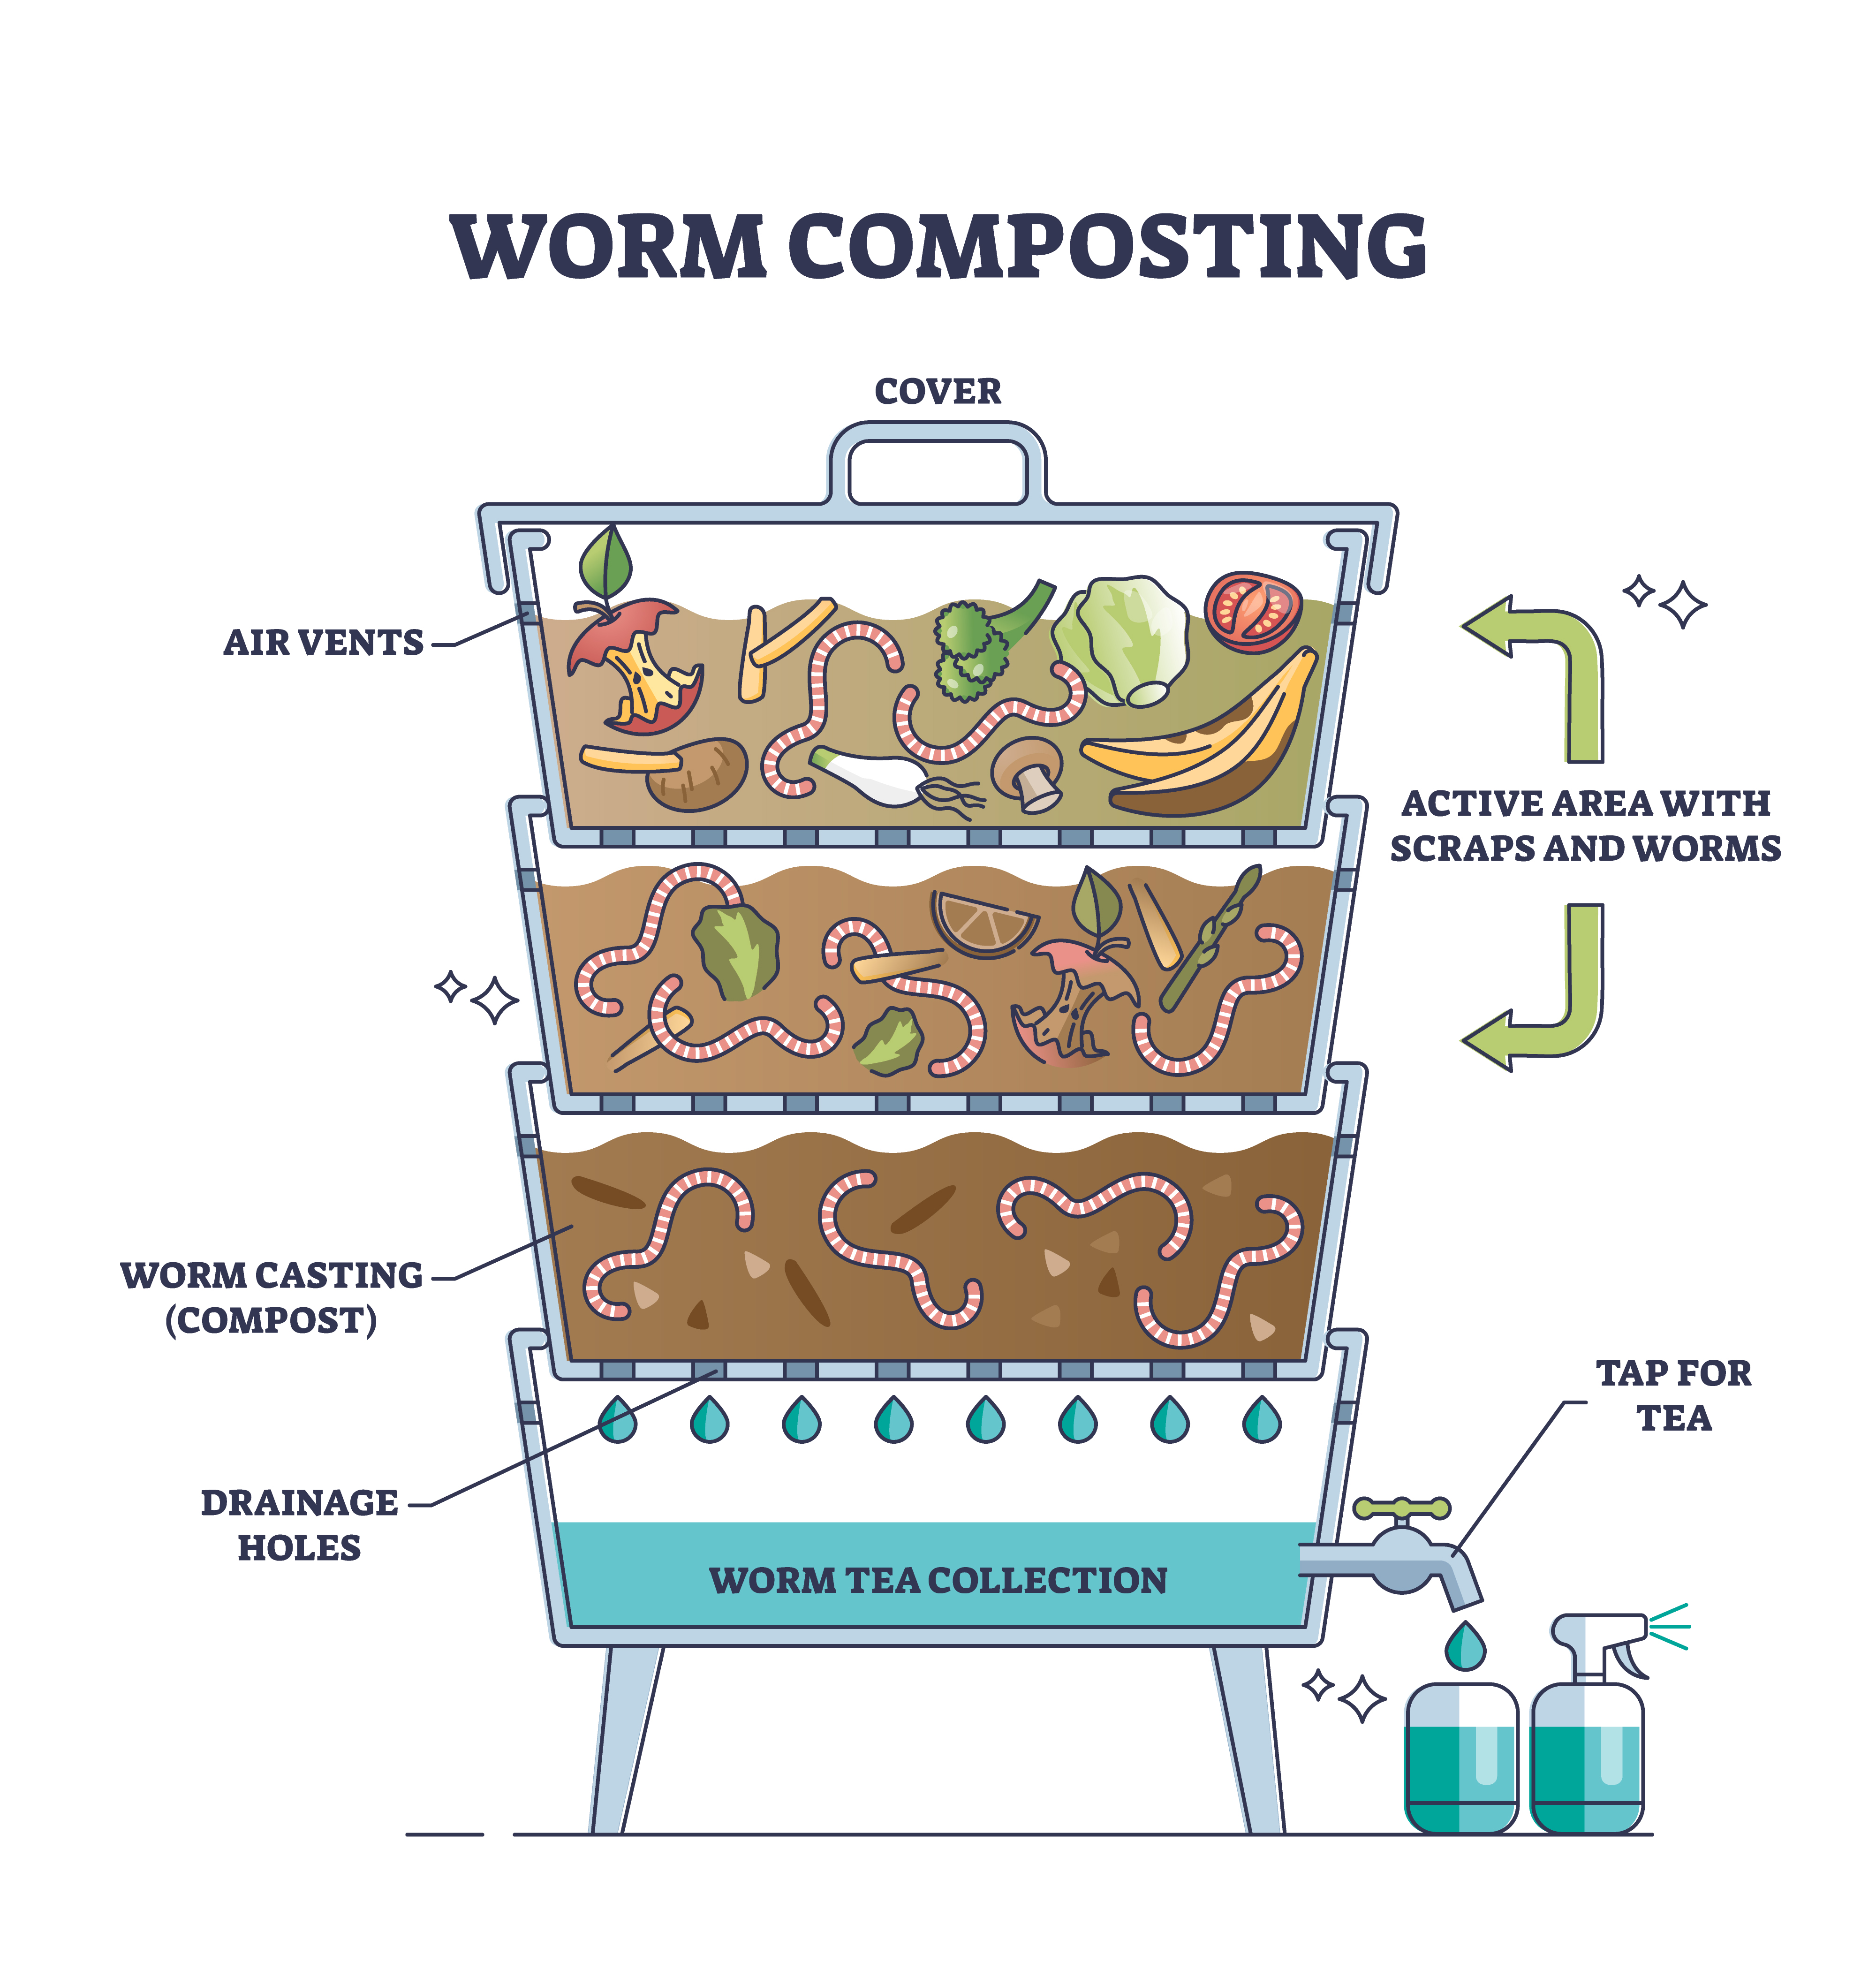
Vermicomposting is a process that uses worms to break down food waste and other organic materials into nutrient-rich compost. It’s an effective way to reduce kitchen scraps and create healthy soil for your garden.
Benefits of worm composting
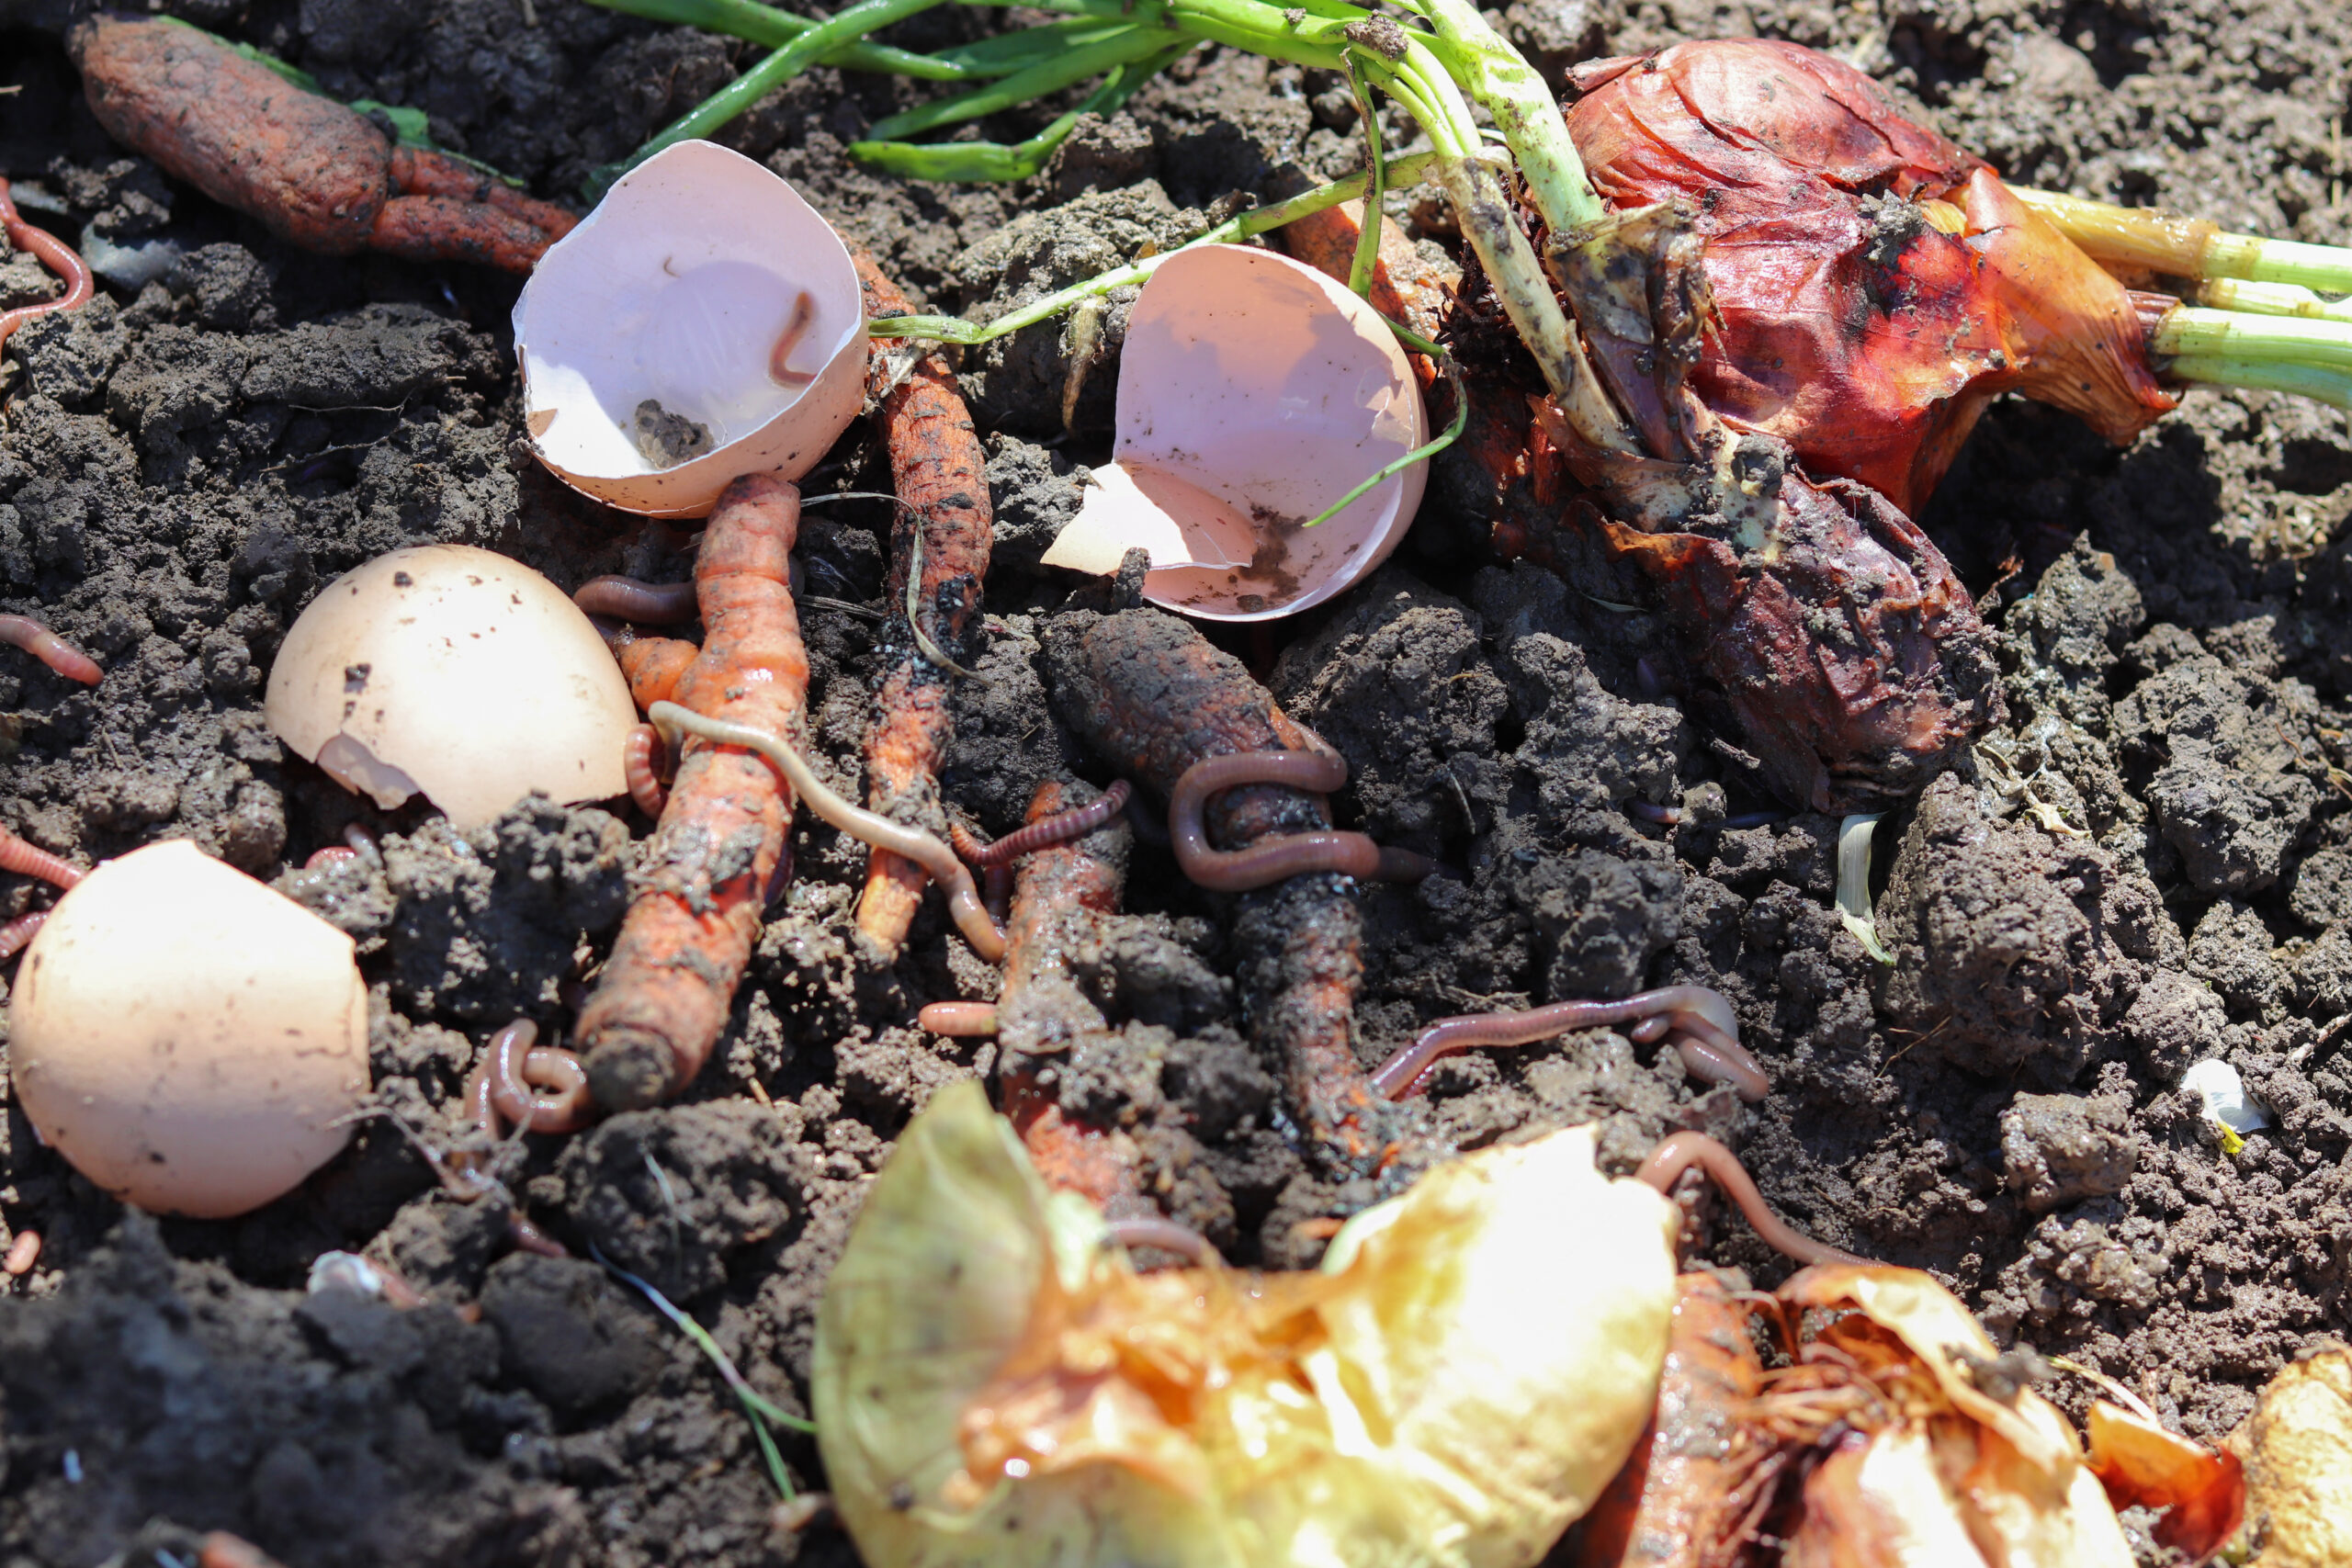
Worm composting turns food waste into rich soil. Red wigglers and other compost worms eat kitchen scraps, fruit peels, and vegetable scraps, breaking down organic materials faster than in a regular compost pile.
The result is worm poop or “worm castings.” These castings are great for your garden’s health.
This composting also helps the planet by reducing waste in landfills, which would release harmful gases. Keeping an outdoor worm bin at home means less trash goes out weekly.
Worm tea, a liquid fertilizer, can also come from the bottom of the bin. It gives plants essential nutrients without using chemicals.
How it works
Worm composting turns kitchen scraps into rich soil. Red wiggler worms eat fruit scraps, vegetable peels, tea bags, and more. They live in a bin with small holes for air. You add bedding made from shredded newspaper or coir.
Keep the bin not too wet but moist using a spray bottle.
Feed your worms well; they will reward you with black gold for your garden.
The worm composter should be placed away from direct sunlight to avoid getting too hot or cold. Over time, worms break down the food into compost, which is excellent for plants. Please do not give them dairy products or too much food at once to prevent fruit flies.
Materials and Tools Needed
To make a worm compost bin, you’ll need specific materials and tools. These include different types of bins, essential tools like waterproof glue, and an ideal location to set up your worm farm.
Types of bins
You can use many types of containers for worm composting. Plastic bins are popular and easy to find at hardware stores. They come in various sizes, so you can pick one that fits your space, like a laundry room or basement.
Another choice is wooden boxes. Some people prefer these because they breathe better than plastic, which helps control moisture.
For those living in places with cold winters or sweltering summers, insulated bins help protect the worms from extreme temperatures. Depending on the season, these bins often have layers to keep warmth in or out.
Ready-made worm farms are also an option to avoid building your bin. They usually contain everything you need, including ventilation holes and drainage systems to remove excess water.
Must-have tools
To make a DIY worm composting bin, you will need the following essential tools:
- Drill with 1/8-inch bit: To create ventilation holes in the bin.
- Spray bottle: To add moisture to the bedding without flooding the worms.
- Kitchen scale: To measure the appropriate amount of food for your worms.
- Tarp or tray: This is used to catch any excess liquid that drains from the bin.
- pH meter: To monitor and maintain the proper pH level in the composting environment.
These tools are essential for setting up and maintaining a successful worm composting system.
Ideal location
Choose a shady spot for your worm composting bin to avoid extreme temperatures. This will protect the worms and maintain moisture levels in the bin. A basement or garage can also be a suitable location if adequate ventilation and temperature control exist.
Keep the bin away from direct sunlight to prevent overheating and ensure a consistent environment for successful vermicomposting.
Consider placing your worm composting bin in a well-ventilated area with stable temperatures, such as a shaded outdoor space or inside a cool basement or garage. This will help regulate the temperature and moisture levels essential for healthy worm activity and the effective decomposition of organic waste.
Step-by-Step Guide to Making a DIY Worm Composting Bin
First, assemble the bin, ensuring ventilation and drainage. Then, create a bedding mix of shredded newspaper and moist peat moss. Next, add your red worms and kitchen scraps to kick-start the composting process!
Setting up the bin
To set up the bin for worm composting, follow these steps:
- Choose a suitable container: To create a dark and damp environment, use a plastic or wooden bin with a lid.
- Drill ventilation holes: To ensure proper air circulation, drill small holes in the lid and sides of the bin.
- Layer the bedding: Start with moistened shredded newspaper or cardboard as a base to provide a comfortable habitat for the worms.
- Add some soil: Mix in garden soil or peat moss to maintain proper moisture levels.
- Introduce the worms: Place red worms into the bedding and let them settle before adding food scraps.
- Cover with a damp cloth: Place a wet cloth over the bedding to keep it moist and create an ideal environment for the worms.
These steps will help you establish a conducive environment for successful worm composting.
Preparing the bedding
Before you start preparing the bedding for your DIY worm composting bin, ensure that the bin is set up and placed in an ideal location. Once your bin is ready, follow these steps to prepare the bedding:
- Shred newspaper into smaller pieces to create a base layer in the worm bin.
- Dampen the shredded newspaper with water until it has a texture similar to a wrung-out sponge.
- Mix in some potting soil or compost to provide grit for the worms’ digestion process.
- Add organic matter such as leaves, mulch, or coconut coir to create a diverse environment for the worms.
- By following these steps, you can ensure that your worm bin has a suitable and comfortable bedding environment for the worms to thrive and effectively compost organic waste into nutrient-rich castings.
Adding worms and food
To add worms and food to your newly set up worm composting bin:
- Gently place the composting worms on top of the prepared bedding.
- Cover the worms with a thin layer of moistened newspaper or cardboard to provide darkness and prevent them from escaping.
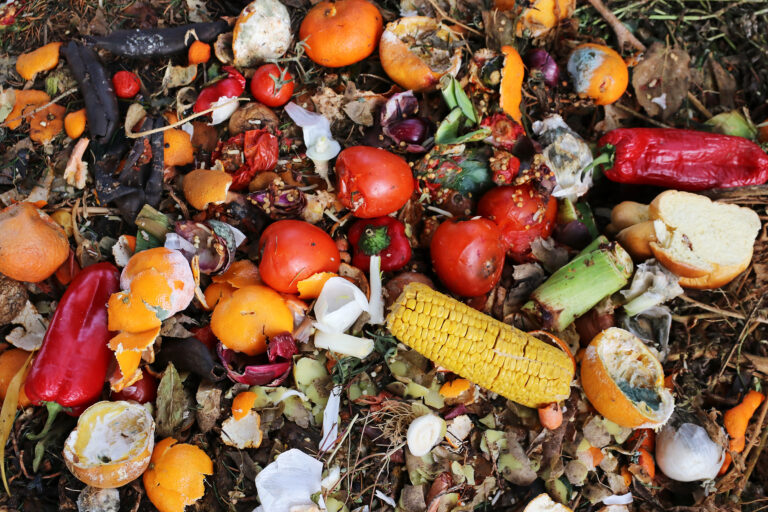
- Begin by feeding your worms small amounts of fruit and vegetable scraps, coffee grounds, tea bags, crushed eggshells, and shredded paper.
- Bury the food scraps under the bedding to prevent fruit flies and odors.
- Avoid giving your worms citrus fruits, onions, garlic, dairy products, meat, and oily foods, as these can attract pests and create an unpleasant smell in the bin.
- You should constantly monitor how much food you are feeding your worms; they will consume approximately half their weight in food each day.
Maintaining the bin
Maintaining the bin is crucial for successful vermicomposting. Here’s how to do it:
- Check moisture levels: Ensure the bedding remains damp, like a wrung-out sponge; mist with water if it is too dry, or add dry bedding if it is too wet.
- Monitor temperature: Keep the bin between 55-77°F to keep the worms happy and active.
- Avoid overfeeding: Feed in small amounts and wait until the previous food is gone before adding more.
- Harvest carefully: Collect worm castings by pushing them to one side of the bin and adding fresh bedding and food to the other.
- Prevent pests: Cover new food scraps with bedding to deter fruit flies and keep lids secure.
These steps will help maintain a healthy environment for your composting worms.
Tips and Tricks for Successful Vermicomposting
Feed your worms a mix of fruit and vegetable scraps, coffee grounds, and shredded paper. Harvest the worm castings by separating them from the bedding and food, then use them as nutrient-rich fertilizer for your plants.
Expand your bin as needed to accommodate more waste and maximize composting efficiency.
What to feed your worms
Worms thrive on fruit and vegetable scraps, coffee grounds, tea bags, and crushed eggshells. Here’s what you can feed your worms:
- Fruits: banana peels, apple cores, citrus rinds.
- Vegetables: lettuce leaves, carrot tops, cucumber ends.
- Coffee grounds: used but not brewed tea bags: remove staples and strings.
- Eggshells: ground into small pieces
Ensure the food is chopped into small pieces to help worms consume it more efficiently.
How to harvest worm castings
After nourishing your worms with suitable food, the next step is to harvest their castings, which are rich in nutrients. Here’s how you can do it:
Separate the worms from the castings using a ” sorting technique.” Gently scoop out sections of the worm bedding and place them on a large piece of plastic or a tray. The worms will burrow down to escape the light, allowing you to remove the top layer of castings.
Create ideal conditions for worm migration by exposing the bedding and castings to light. Worms naturally move away from sunlight, so you can carefully collect the fresh castings from the top as they migrate downwards.
To hasten worm migration, employ methods such as creating a light source above the surface or briefly uncovering the top layer. This encourages faster movement of worms away from light, making it easier to gather worm castings.
Utilize additional techniques like “baiting,” where fresh food is placed at one side of the bin while no new food is added elsewhere. The majority of worms will migrate towards this new food source, leaving behind vast quantities of pure vermicompost.
Harvesting worm castings involves a few simple steps that can be efficiently carried out with attention and care.
Expanding your bin
Add more bedding material and food scraps to expand your DIY worm composting bin. As the number of worms increases, so does their need for space and sustenance. Make sure to gradually increase the food you provide as the worm population grows.
If your bin becomes crowded, consider splitting it into two separate bins to accommodate the thriving worm community.
Remember to avoid overwhelming your worms with too much food at a time. Start small and observe their consumption habits before increasing the quantity. When expanding your bin, look at your local garden center or online suppliers for additional composting worms.
Where to get composting worms
You can buy composting worms from gardening stores, online suppliers, or local worm farmers. Red wrigglers and European nightcrawlers are commonly used for vermicomposting.
Ensure the seller ships the worms with ample bedding to maintain moisture during transit. To prevent harming the worms in transit, consider placing your order when there’s a low risk of extreme temperatures.
FAQs
Can I keep my worm composting bin if I live in an apartment?
Yes! Worm bins are great for apartment dwellers because they don’t take up much space and, when managed right, don’t smell.
What can I do with the finished product from my worm bin?
You can use the compost to enrich your garden soil or make a potent liquid fertilizer known as “compost tea” for your plants.
Is making a wormery good for the environment?
Yes! Vermiculture helps reduce waste going to landfills, is essential for fighting climate change, and supports recycling organic materials into valuable compost.
This post was about DIY worm composting bin.

